
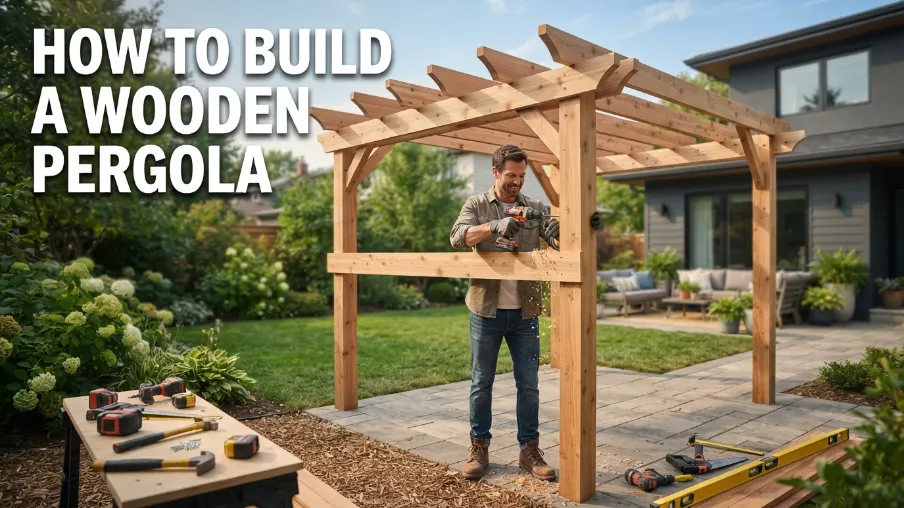
A pergola can completely transform a plain backyard into a space you actually want to spend time in. It gives you shade, a spot for climbing plants, and honestly just makes your yard look more finished and intentional. The problem is most people assume building one requires professional skills or a huge budget, so they either pay thousands for someone else to build it or just give up on the idea entirely.
The reality is a wooden pergola is a very doable weekend project if you break it down step by step. This guide walks you through the entire process, from planning to the final finishing touches, in plain simple language.
Let’s get started.
What You Need to Plan Before You Start Building
Before touching any wood, take some time to plan out the details. Rushing into building without a clear plan is where most pergola projects run into trouble.
Decide on the size based on how you’ll use the space. A small pergola over a seating area might only need to be around 10 by 10 feet, while a larger one meant to cover a dining space could be 12 by 16 feet or bigger. Think about the height too, most pergolas sit somewhere between 8 and 10 feet tall, tall enough to walk under comfortably and let air flow through without feeling cramped.
Check with your local building department about permits. Many areas require a permit for structures over a certain size or height, so it’s worth a quick call before you start digging post holes.
Tools and Materials You’ll Need
- Pressure treated lumber for posts, beams, and rafters
- Concrete for setting posts
- Post hole digger or auger
- Level and measuring tape
- Circular saw
- Drill and screws
- Lag bolts or carriage bolts
- Wood stain or sealant
- String line for alignment
- Safety gloves and eye protection
Step 1: Mark Out Your Layout
Use stakes and string to mark exactly where your pergola posts will go. Measure diagonally between corners to make sure your layout is a perfect square or rectangle, both diagonal measurements should match if your corners are properly square.
Take your time here since any misalignment at this stage carries through the entire build and gets harder to fix once posts are set in concrete.
Step 2: Dig Post Holes
Dig holes at each marked post location, generally around 2 feet deep, though this can vary depending on your climate and local frost line requirements. Deeper holes are needed in colder regions to prevent posts from shifting during freeze and thaw cycles.
Keep the holes slightly wider than your post size to allow room for concrete to fully surround the base once you set it.
Step 3: Set the Posts
Place your posts into the holes and use a level to check they’re perfectly plumb on all sides. Have a helper hold each post steady while you pour concrete around the base, or use temporary braces nailed to stakes in the ground to hold posts upright while the concrete sets.
Check the level again after pouring, since posts can shift slightly while the concrete is still wet. Let the concrete cure fully before moving forward, usually a full day or two depending on the product used.
Step 4: Cut Posts to Even Height
Once your posts are set and the concrete has cured, use a level and a string line stretched between posts to mark a consistent height across all of them. Cut each post at this marked line using a circular saw, working carefully to keep the cuts as clean and even as possible.
Having all your posts at the exact same height makes the rest of the build much easier and gives you a cleaner, more professional final look.
Step 5: Install the Beams
Beams run horizontally across the tops of your posts and support the weight of your rafters above. Depending on your design, beams can sit directly on top of the posts or be attached to the sides using lag bolts for extra strength and a slightly different visual style.
Use a level to check that your beams are perfectly horizontal before securing them permanently. Uneven beams throw off the entire structure above them, so double check this step before moving on.
Step 6: Attach the Rafters
Rafters run perpendicular to your beams and create the classic pergola look with evenly spaced slats across the top. Measure and mark even spacing along your beams, typically anywhere from 12 to 24 inches apart depending on how much shade coverage you want.
Cut your rafters to the desired length, often with decorative angled ends for a more finished appearance, and secure each one to the beams using screws or brackets designed for outdoor structural use.
Step 7: Add Cross Pieces or Lattice If Desired
Some pergola designs include an additional layer of smaller cross pieces running perpendicular to the rafters, which adds more shade and visual detail. This step is optional and mostly comes down to personal preference and how much sun coverage you want.
If you’re planning to grow climbing plants like vines or wisteria across your pergola eventually, this extra layer gives them more surface area to grow across as they mature.
Step 8: Sand and Smooth All Surfaces
Before applying any stain or sealant, go over all the wood surfaces with sandpaper to smooth out rough spots and remove any splinters. This step matters both for appearance and safety, especially if people will be sitting or standing close to the structure regularly.
Wipe away sawdust with a clean cloth once you’re done sanding, since leftover dust can affect how evenly your stain or sealant applies.
Step 9: Stain or Seal the Wood
Applying a wood stain or sealant protects your pergola from weather damage, sun exposure, and moisture, all of which can cause wood to warp, crack, or rot over time if left untreated. Choose a product rated for outdoor use and apply it evenly with a brush or roller, following the product’s drying time recommendations between coats.
This step also gives you a chance to add some color if you want your pergola to match your deck, house trim, or overall backyard style.
Step 10: Add Finishing Touches
Once the structure itself is complete and sealed, you can add personal touches based on how you plan to use the space. String lights woven across the rafters create a nice evening atmosphere. Climbing plants trained along the posts and beams add natural beauty as they grow in over time. Outdoor curtains or shade cloth can be added between posts for extra privacy or additional shade during the hottest parts of the day.
Common Mistakes to Avoid
- Skipping the permit check. Some areas require approval for structures over a certain height or size, and skipping this can cause problems later if you decide to sell your house.
- Not accounting for frost line depth when setting posts. Posts set too shallow can shift and lean over time in colder climates.
- Rushing the leveling steps. Small errors in your post height or beam alignment become much more noticeable once the full structure is complete.
- Using non treated lumber. Regular lumber deteriorates much faster outdoors compared to pressure treated wood designed to resist moisture and pests.
- Forgetting to seal the wood. Untreated wood exposed to weather will crack, warp, and gray much faster than sealed wood.
Final Thoughts
Building a wooden pergola is one of those projects that looks intimidating from the outside but breaks down into manageable steps once you actually get started. The key parts to focus on are getting your posts properly set and level, keeping your beams and rafters evenly spaced, and taking the time to seal the wood properly so your work lasts for years.
Once it’s finished, a pergola becomes one of those backyard features that people notice immediately, and knowing you built it yourself makes it feel even better every time you sit underneath it.
Frequently Asked Questions
1. How long does it take to build a pergola?
Most straightforward pergola projects take a weekend to a full week, depending on size, experience level, and whether you’re working alone or with help.
2. What is the best wood to use for a pergola?
Pressure treated pine, cedar, and redwood are common choices. Cedar and redwood naturally resist rot and insects, while pressure treated pine is more affordable and widely available.
3. Do I need a permit to build a pergola?
It depends on your local building codes and the size of the structure. Many areas require permits for larger pergolas or ones attached directly to your house, so it’s worth checking beforehand.
4. How deep should pergola posts be set in the ground?
Generally around 2 feet deep works for most regions, though colder climates with a deeper frost line may require going deeper to prevent shifting over time.